How to Make The Easiest Balloon Garland
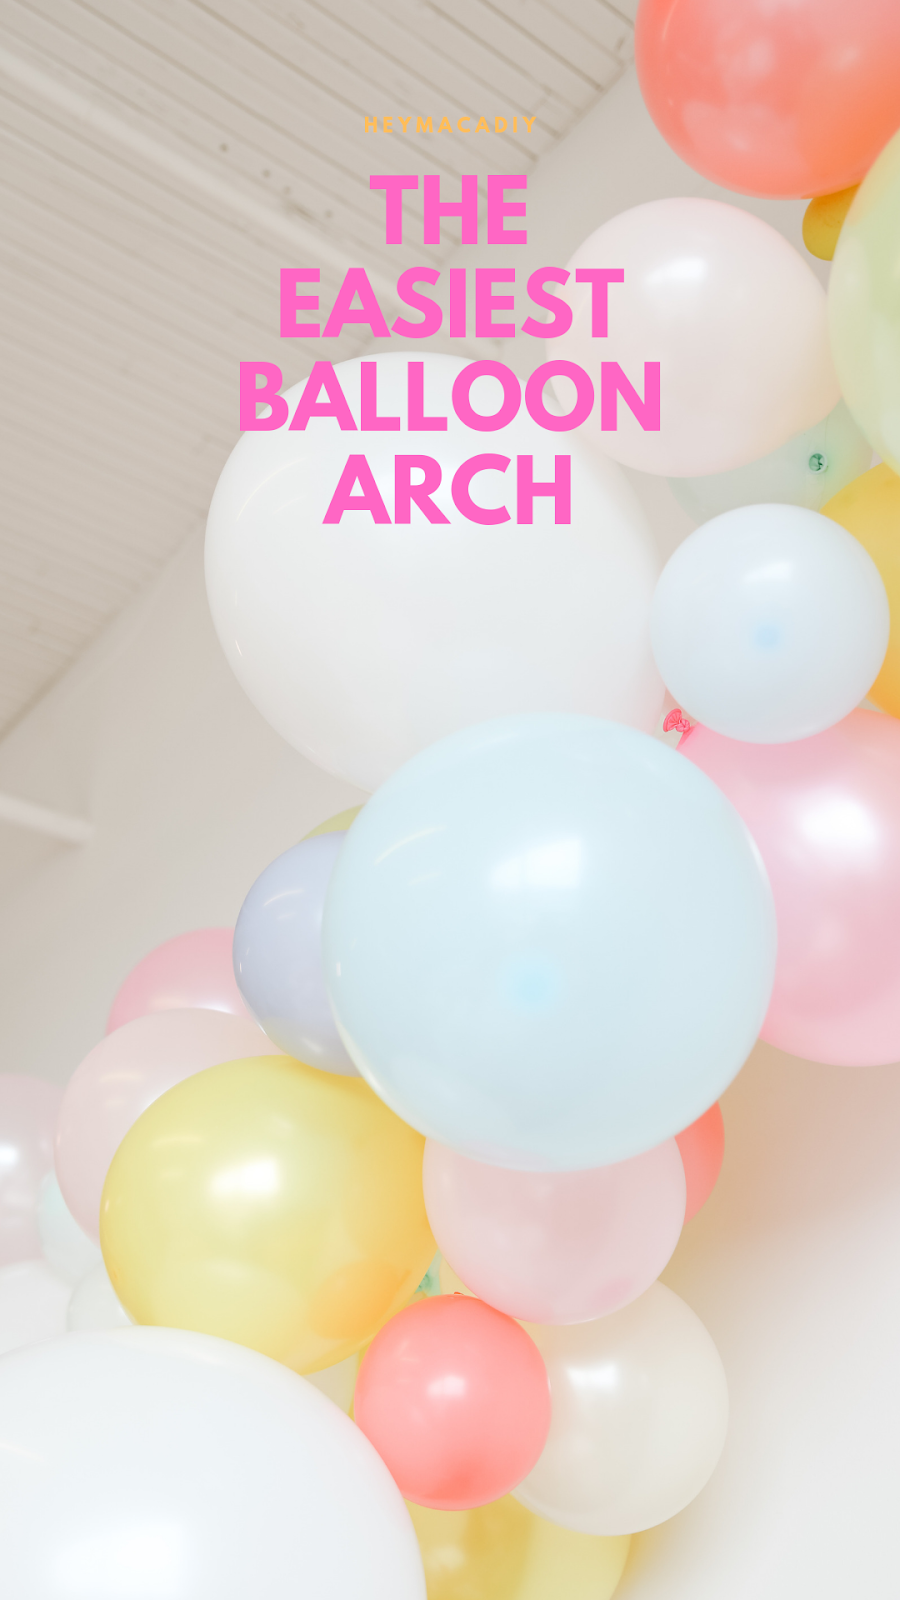 |
Friends! I’m baaaack after a short break from the *internet* and blogging world, woot woot! before jumping into this cute DIY project, I gotta confess that this break (much-needed break) made me good. good to my soul, to my inner peace and my mental health. I have to dedicate a full blog post soon about what I experienced the past two weeks and how am I changing the way I work in this digital world, more on that, soon. anyyyyywho, we are here for all the balloons, am I right? |
 |
Materials you’ll needBalloons – we bought them in different sizes (mini, small and regular) |
I D E A S!


 |
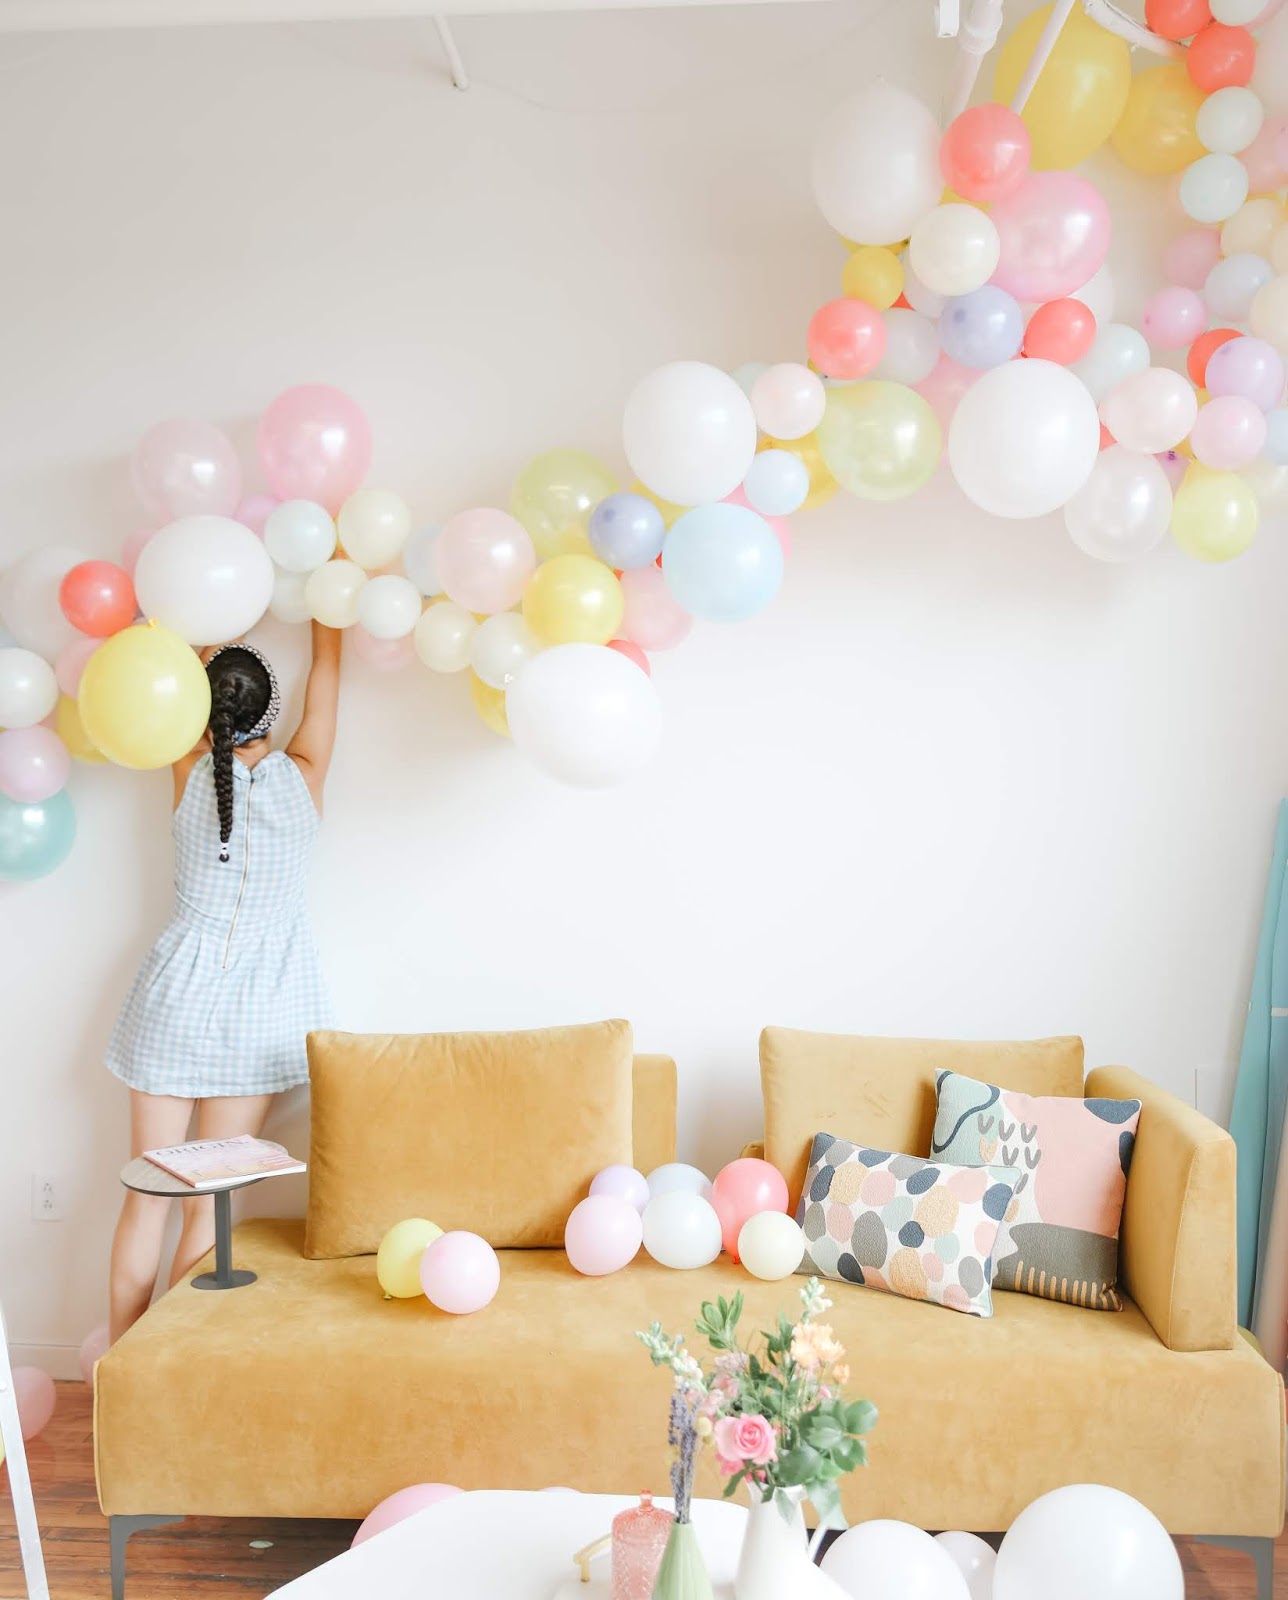
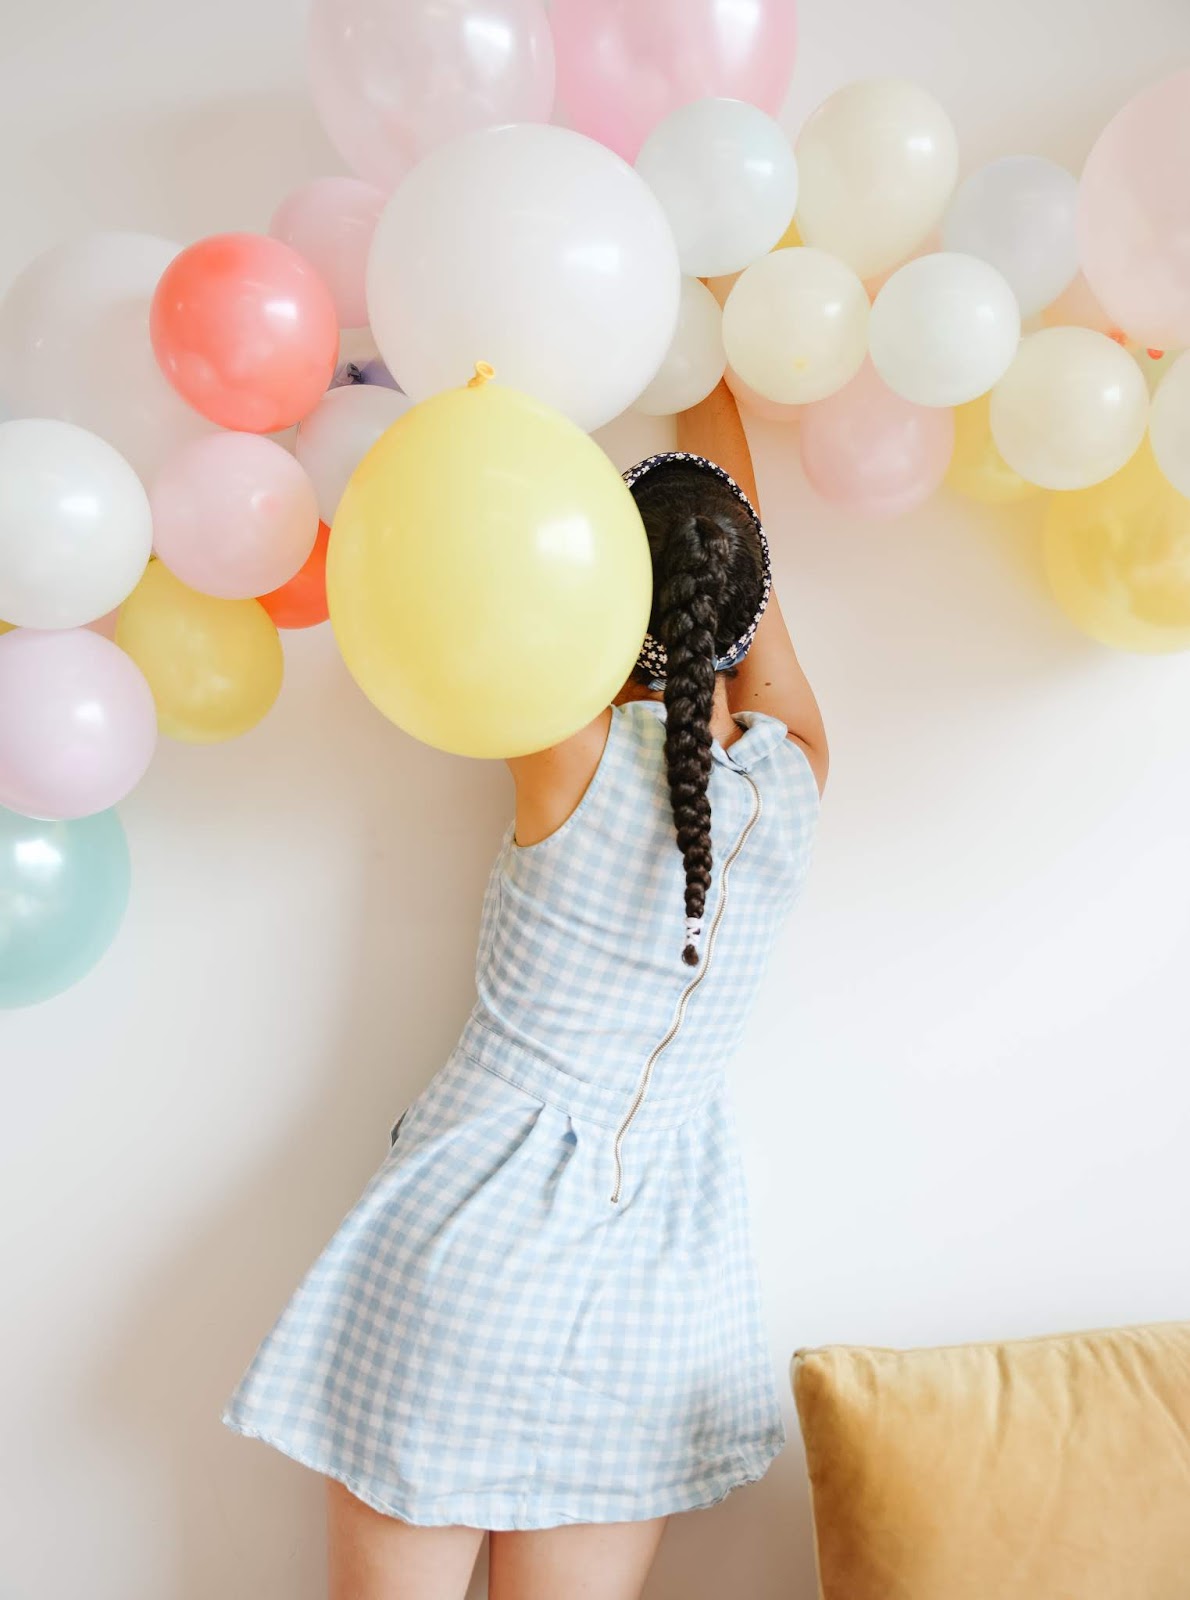
How to, step-by-stepONEStart by aligning all the balloons and planning your colour palette. We did a super pastel arch and tried to add a lot of white to balance everything. Using your balloon pump, fill all the balloons (in different sizes) with air. You’ll have a LOT. TWOOpen your balloon strip and after you have your blown up balloons start attaching them to the strip one by one into the holes where you can pull all the balloons through. We mixed the big ones first and then small/medium. THREEAfter you finish your first balloon strip, you can glue (with your dots) small and medium balloons on top to create & fill the arch. This last step is the most fun one! have fun adding a lot of balloons and shape them the way you want your arch to be. BONUS TIPIf you want to be extra, you can add flowers, vine greens, and real monsteras. |
 |
| If you make your own balloon arch, we can’t wait to see it! Tag us using #HeyMacaLoves on Instagram.Happy DIY’ing! |